Preparing the Surface
Painting plastic motorcycle parts with spray cans can be a cost-effective way to give your bike a fresh new look. However, in order to achieve professional results, proper preparation of the surface is essential. In this article, we will discuss the steps you need to take to ensure that your paint job turns out smooth and durable.

The first step in preparing the surface of your plastic motorcycle parts is to clean them thoroughly. Use a mild detergent and water to remove any dirt, grease, or grime that may be present. Once the parts are clean, rinse them off with water and allow them to dry completely.
After the parts are clean and dry, the next step is to sand them lightly. This will help to roughen up the surface and provide a better bond for the paint. Use a fine-grit sandpaper, such as 400-grit, and sand in a circular motion until the surface feels slightly rough to the touch. Be sure to wipe away any dust with a clean, dry cloth before moving on to the next step.
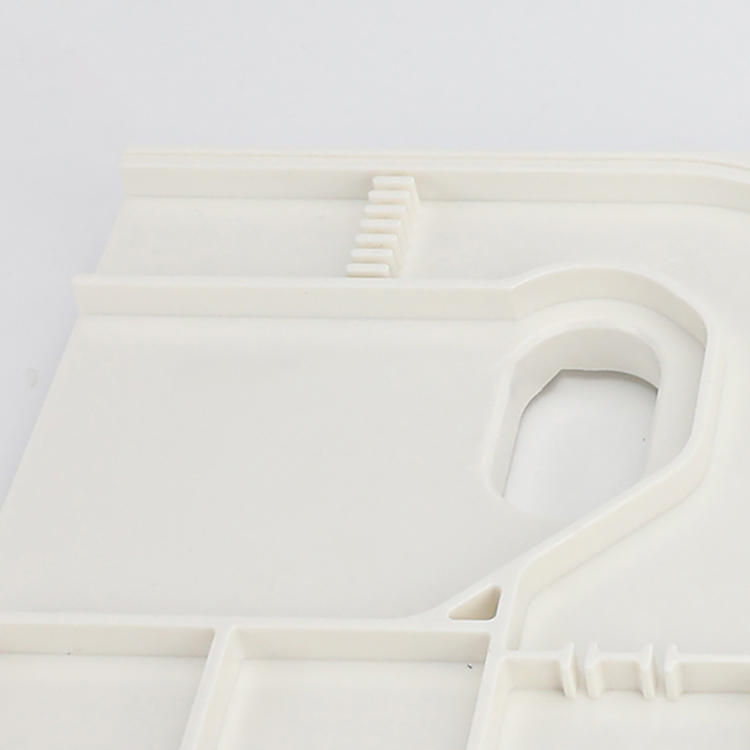
| Product Name | OEM Plastic injection molding Parts |
| Technology | Foaming / Ordinary Injection / Structual Foam Molding / Over-Molding / Gas Assisted Injection Molding |
| Our Services | OEM/ODM |
Once the parts are clean and sanded, the next step is to apply a plastic adhesion promoter. This product is designed to help the paint adhere to the plastic surface more effectively. Follow the manufacturer’s instructions for application, and be sure to allow the promoter to dry completely before moving on to the next step.
After the adhesion promoter has dried, it is time to apply a primer specifically designed for plastic surfaces. This will help to further improve the bond between the paint and the plastic, as well as provide a smooth base for the paint to adhere to. Apply the primer in thin, even coats, allowing each coat to dry completely before applying the next.
Once the primer has dried, it is finally time to apply the paint. Choose a high-quality spray paint that is designed for use on plastic surfaces. Shake the can thoroughly before spraying, and apply the paint in thin, even coats. Be sure to follow the manufacturer’s instructions for drying times between coats, and allow the final coat to dry completely before handling the parts.
In conclusion, preparing the surface of your plastic motorcycle parts is a crucial step in achieving a professional-looking paint job. By cleaning, sanding, applying an adhesion promoter, primer, and paint, you can ensure that your paint job is smooth, durable, and long-lasting. With proper preparation and attention to detail, you can give your bike a fresh new look that will turn heads wherever you ride.

