DIY Plastic Molding: How to Create Your Own Plastic Parts at Home. Plastic molding is a great way to create custom parts for your projects. With the right tools and materials, you can make your own plastic parts at home. In this blog post, we’ll discuss the basics of plastic molding, the materials you’ll need, and the steps you’ll need to take to create your own plastic parts. We’ll also provide some tips and tricks to help you get the best results
Plastic molding is a versatile and cost-effective way to create custom parts for your projects. With the right tools and materials, you can make your own plastic parts at home. To get started, you’ll need a few basic supplies: a mold, plastic pellets, a heat gun, and a mold release agent.
Once you have your supplies, you can begin the plastic molding process. First, you’ll need to create a mold. This can be done by using a 3D printer or by hand-sculpting a shape out of clay. Once you have your mold, you’ll need to prepare it for the plastic pellets. This involves applying a mold release agent to the surface of the mold to prevent the plastic from sticking.
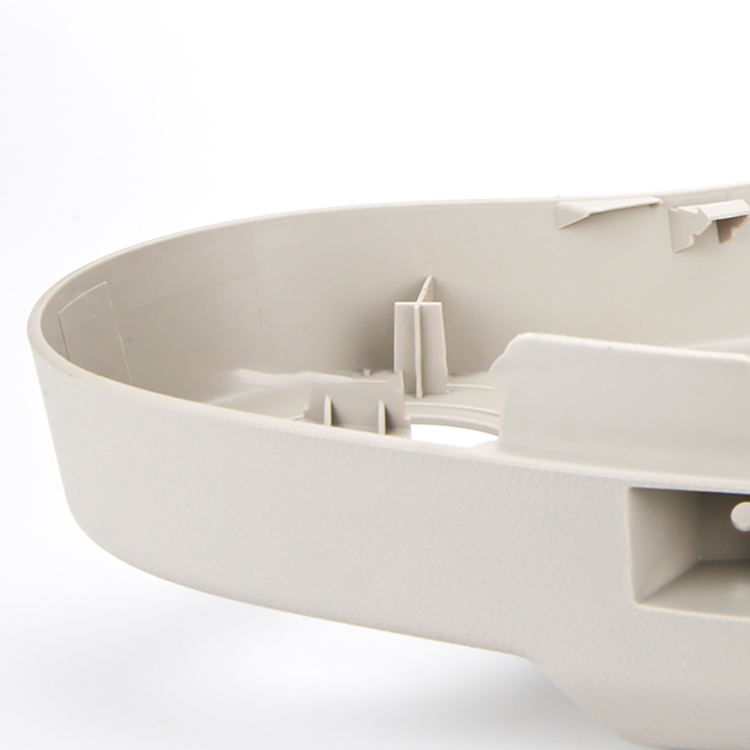
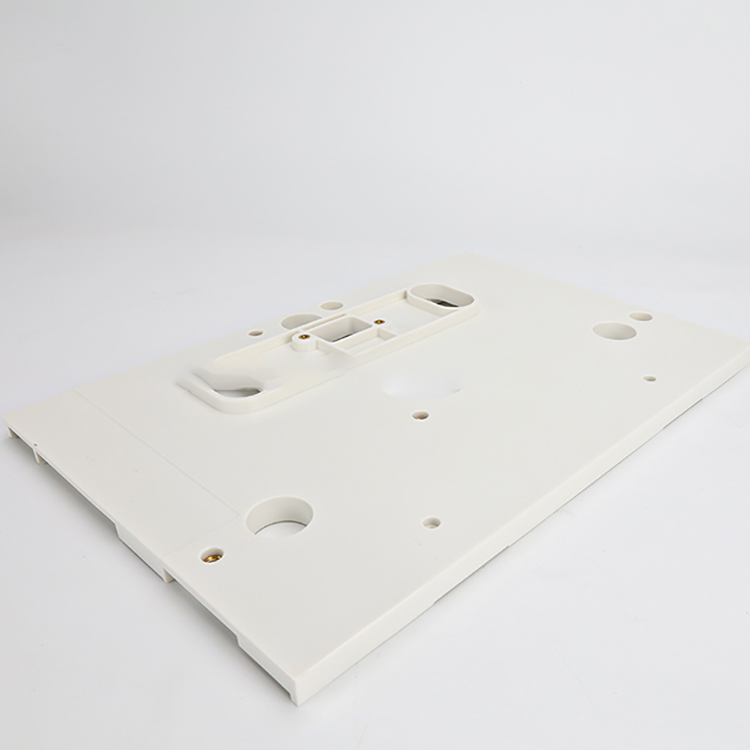
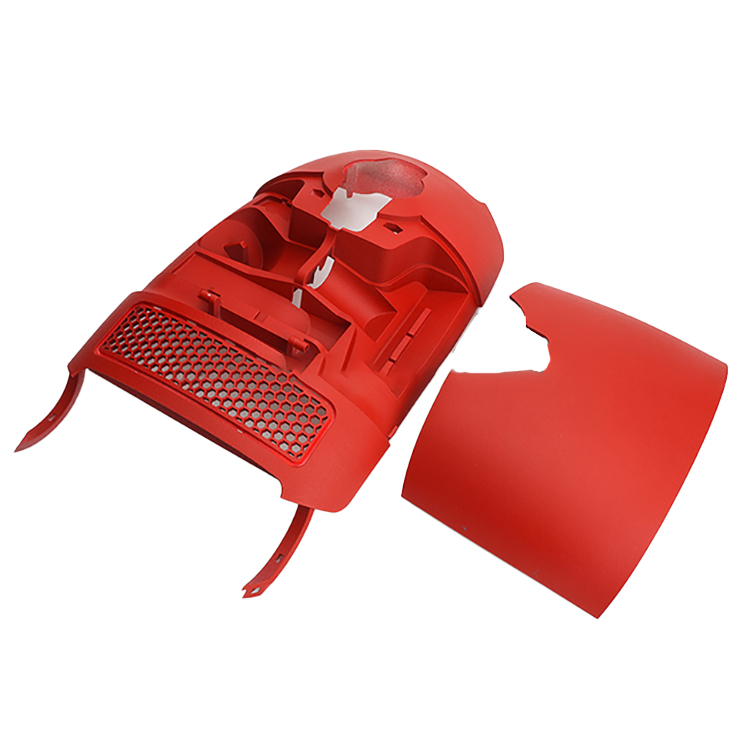
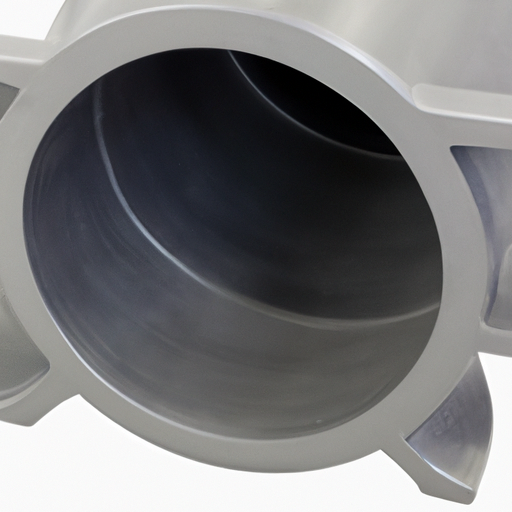
| Product Name | OEM Plastic injection molding Parts |
| Technology | Foaming / Ordinary Injection / Structual Foam Molding / Over-Molding / Gas Assisted Injection Molding |
| Our Services | OEM/ODM |
Next, you’ll need to heat the plastic pellets. This can be done with a heat gun or a stovetop. Once the pellets are heated, they can be poured into the mold. After the plastic has cooled and hardened, you can remove it from the mold.
Finally, you’ll need to finish the plastic part. This can involve sanding, painting, or polishing the part to give it a professional look. With the right tools and materials, you can create your own plastic parts at home.
By following these steps, you can create custom plastic parts for your projects. With a little practice and patience, you can create professional-looking parts that will last for years. So get creative and start making your own plastic parts today!