Table of Contents
How to Prepare Motorcycle Plastic Parts for Painting: A Step-by-Step Guide
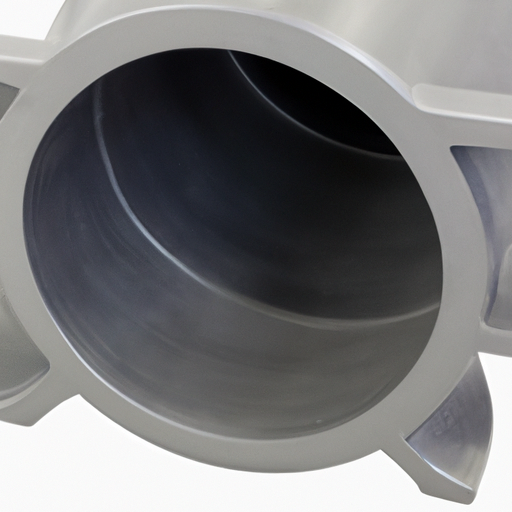
Preparing motorcycle plastic parts for painting is an important step in the overall painting process. This step ensures that the paint adheres properly to the plastic and that the finished product looks professional. This guide will provide a step-by-step overview of the process for preparing motorcycle plastic parts for painting.
Step 1: Clean the Plastic Parts
The first step in preparing motorcycle plastic parts for painting is to clean them. This can be done using a mild detergent and warm water. Use a soft cloth or sponge to gently scrub the plastic parts, paying special attention to any areas that may have dirt or grease buildup. Once the parts are clean, rinse them off with clean water and allow them to dry completely.
Step 2: Sand the Plastic Parts
Once the plastic parts are dry, the next step is to sand them. This will help to create a smooth surface for the paint to adhere to. Use a medium-grit sandpaper and sand the parts in a circular motion. Be sure to sand the entire surface of the plastic parts, including any crevices or hard-to-reach areas.
Step 3: Apply Primer
Once the plastic parts have been sanded, the next step is to apply a primer. Primer helps to create a better bond between the plastic and the paint. Use a brush or spray can to apply the primer in thin, even coats. Allow the primer to dry completely before moving on to the next step.
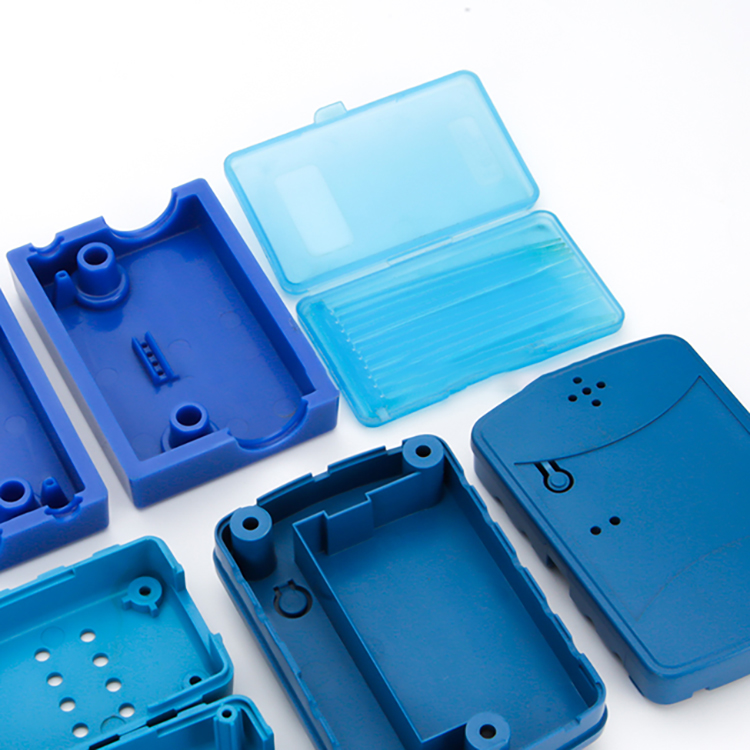
| Delivery | PE bag + paper card/paper skin + export-grade carton / crate / Pallet |
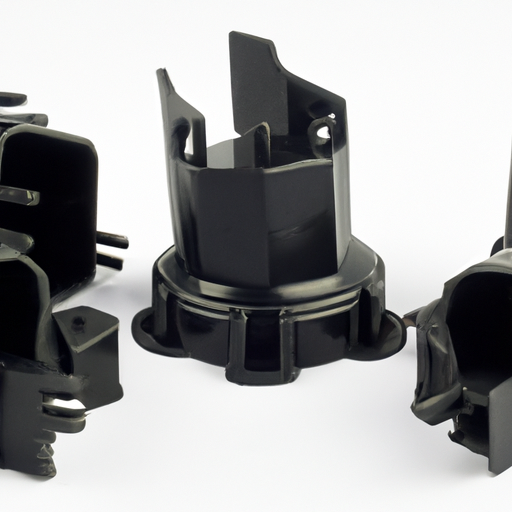
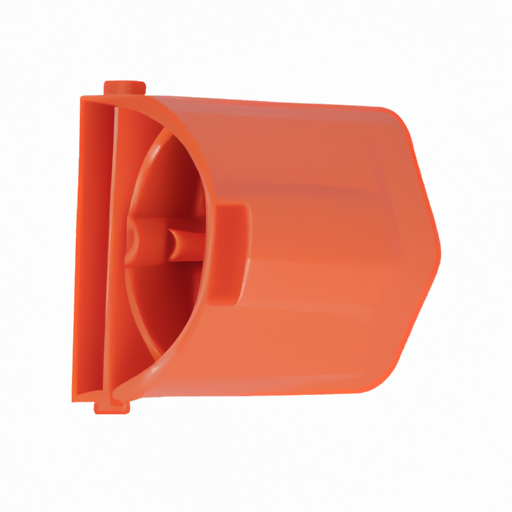
| Technology | Foaming / Ordinary Injection / Structual Foam Molding / Over-Molding / Gas Assisted Injection Molding |
Step 4: Apply Paint
Once the primer has dried, the next step is to apply the paint. Use a brush or spray can to apply the paint in thin, even coats. Allow the paint to dry completely before moving on to the next step.
Step 5: Apply Clear Coat
The final step in preparing motorcycle plastic parts for painting is to apply a clear coat. This will help to protect the paint and give it a glossy finish. Use a brush or spray can to apply the clear coat in thin, even coats. Allow the clear coat to dry completely before using the plastic parts.
Following these steps will help ensure that the motorcycle plastic parts are properly prepared for painting. This will help to ensure that the paint adheres properly and that the finished product looks professional.