Table of Contents
Step-by-Step Guide to Safely Removing Paint from Plastic Motorcycle Parts
Removing paint from plastic motorcycle parts can be a tricky process, but with the right tools and techniques, you can safely and effectively remove paint from plastic parts. Here is a step-by-step guide to help you get the job done.
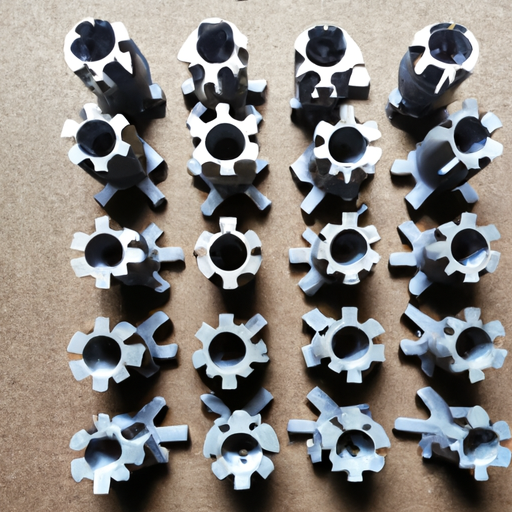
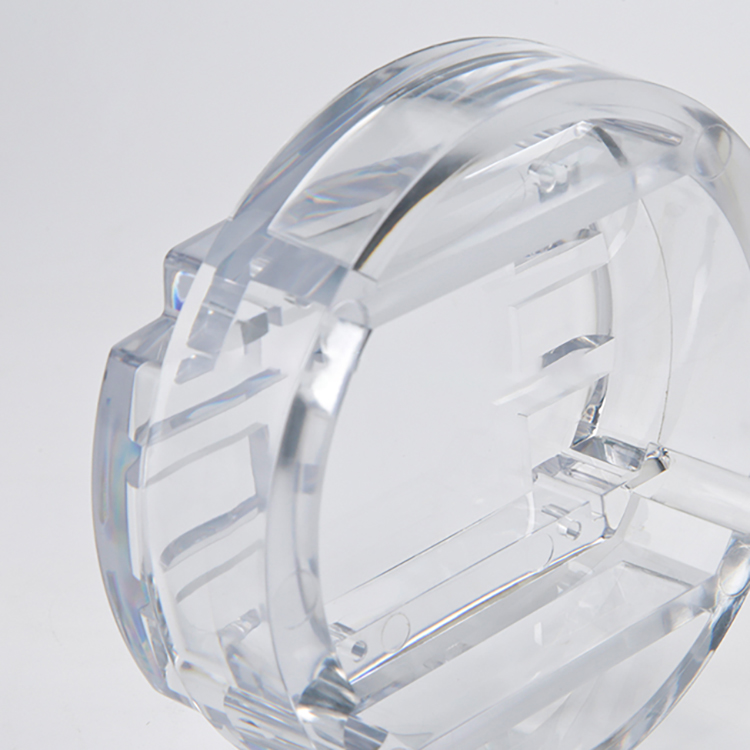
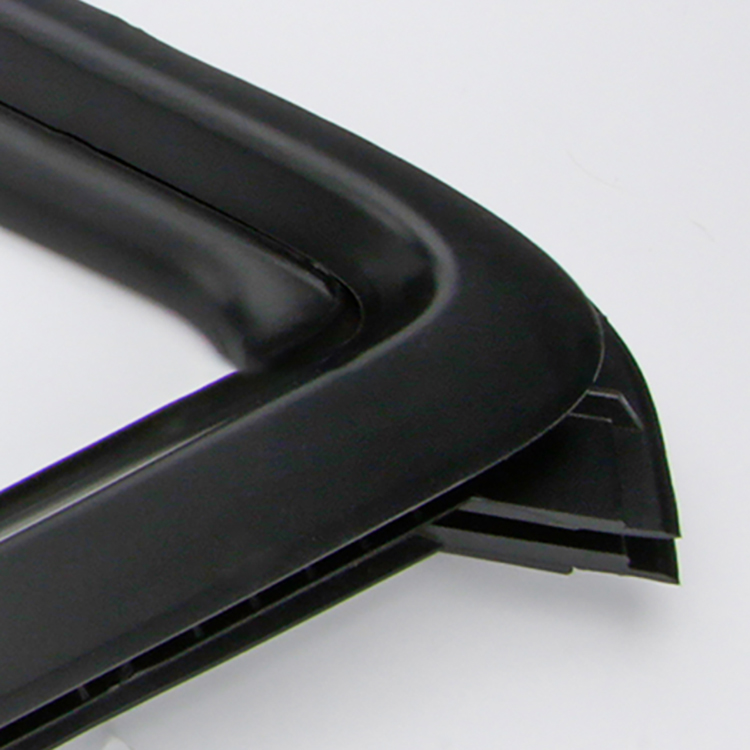
| Product Name | OEM Plastic injection molding Parts |
| Drawing Formats | 2D(PDF/CAD) And 3D(STP/STEP) |
| Materials | ABS / PC+ABS / PC / PP / Nylon (PA6/66) / POM / PVC / PMMA / TPE / TPU / PC+GF / Etc. |
| Production Process | Orders-Raw Materials- Production-Quality Inspection -Packaging-Shipment |
Step 1: Gather the necessary materials. You will need a plastic scraper, a plastic-safe paint remover, a soft cloth, and a bucket of warm water.
Step 2: Apply the paint remover to the plastic part. Make sure to cover the entire surface of the part with the paint remover. Allow the paint remover to sit for the recommended amount of time, usually 10-15 minutes.
Step 3: Use the plastic scraper to gently scrape away the paint. Be careful not to scratch the plastic surface.
Step 4: Once the paint has been removed, use the soft cloth to wipe away any remaining residue.
Step 5: Rinse the plastic part with warm water. This will help to remove any remaining paint remover and residue.
Step 6: Allow the plastic part to dry completely before applying any new paint.
Following these steps will help you safely and effectively remove paint from plastic motorcycle parts. With the right tools and techniques, you can restore your plastic parts to their original condition.