Table of Contents
How to Prepare Plastic Car Parts for Painting: A Step-by-Step Guide
Painting plastic car parts can be a great way to give your car a fresh, new look. With the right preparation, you can achieve a professional-looking finish. Follow this step-by-step guide to prepare your plastic car parts for painting.
1. Clean the plastic car parts. Start by cleaning the plastic car parts with a mild detergent and warm water. Use a soft cloth or sponge to remove any dirt, dust, or debris. Rinse the parts with clean water and allow them to dry completely.
| Delivery | PE bag + paper card/paper skin + export-grade carton / crate / Pallet |
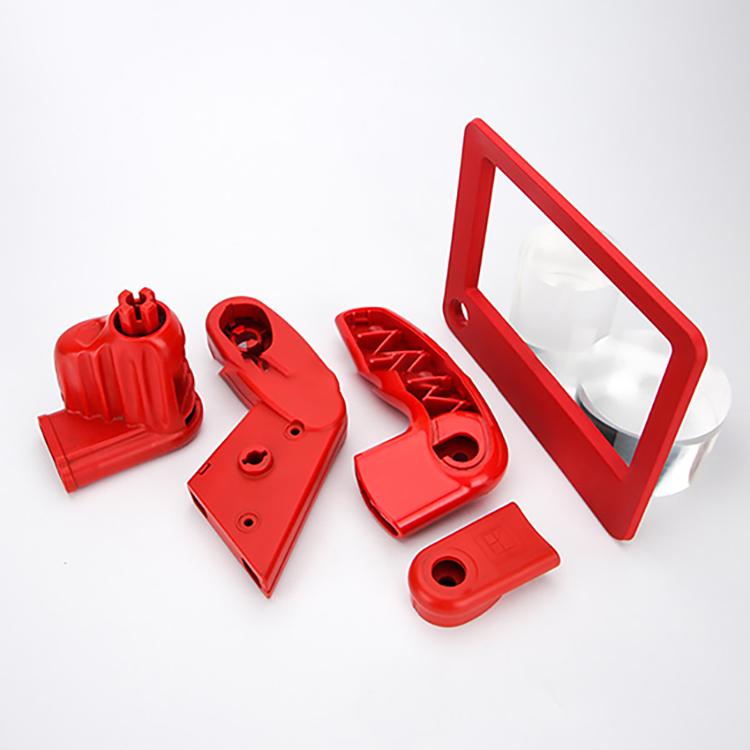
| Surface finish | Polishing Finish / Slik Print / Texture Finish / Rubber Painting / Glossy Finish / Painting / Slik-Screen / Pad Print / EMI Coating / Electronic Plating / Laser Marking / Etc. |
2. Sand the plastic car parts. Use a fine-grit sandpaper to lightly sand the plastic car parts. This will help the paint adhere better and create a smoother finish.
3. Apply a primer. Apply a plastic primer to the plastic car parts. This will help the paint adhere better and provide a better base for the paint. Allow the primer to dry completely before moving on to the next step.
4. Mask off any areas you don’t want to paint. Use masking tape and paper to cover any areas you don’t want to paint. This will help you achieve a professional-looking finish.
5. Paint the plastic car parts. Use a spray paint designed for plastic surfaces. Apply several thin coats of paint, allowing each coat to dry completely before applying the next.
6. Allow the paint to cure. Allow the paint to cure for at least 24 hours before handling the plastic car parts.
With the right preparation, you can achieve a professional-looking finish when painting plastic car parts. Follow this step-by-step guide to prepare your plastic car parts for painting and enjoy the results of your hard work.